When I first started sewing, I had no knowledge of sewing, so I followed the pattern instructions exactly.
The vast majority of patterns (at least from the Big 4 pattern companies) do not include any finishing instructions at all. So of course, all of my first projects have raw seams inside, and look pretty "homemade" on close inspection.
My hems didn't look great either, with machine top-stitching.
As I didn't own an ironing board, I often didn't iron seams very carefully. Let me tell you, ironing on a towel on your coffee table is very discouraging, and back breaking. :(
I've since learned a lot of techniques that help a finished garment look more professional. I am well aware that I have a LOT more to learn, but I thought I'd share a few things that I've learned to make your project look great, inside and out.
Raw seams inside a garment are uuuuggggly. There are a number of way to finish seams so they look nice, and don't fray inside.
The most common modern technique is probably serging. Of course the problem is that you need a large, expensive piece of equipment specifically to do this. If you don't have a serger, there are still many ways to finish your seams nicely. Here is a nice, quick tutorial for most machine seam finishes.
 The simplest ways are pinking the edges (need to purchase pinking shears, only works on tightly wove fabrics), and zig-zagging the edges, which is kind of like a poor woman's serger.
My new favorites are French Seams (tutorial) and Mock-French Seams (tutorial).
French seams are really only good for straight or mostly straight seams. On curved seams, mock french work well.
But there are some times a seam must be pressed open, so neither of these can be used. For those, I prefer to use a clean finish. this is simply turning the raw edge under 1/8" or 1/4" on each side of the raw seam and sewing close to the edge
There are some seam finishes that are great to use to add an interesting look outside your garment. One is bound seams. Basically, you take bias cut strips of fabric with the edges folded under, and bind raw edges that are showing on the outside of the item. I did this on ALL the seams with my Vintage 40's apron, here:

There are other types of seam finishes I've heard of but never tried, such as a Hong Kong Finish,which I've simply never had occasion to use, but h ope to try sometime in the future.
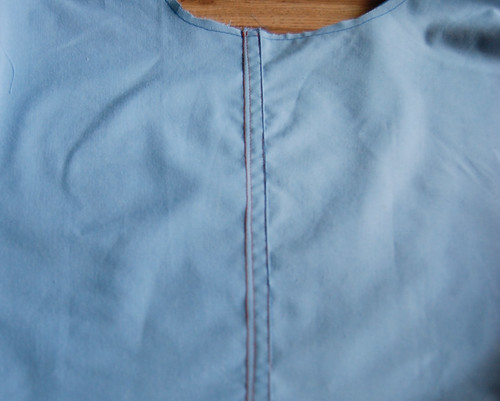
 One of the coolest finishes I've learned is the ones you'll see on most pairs of jeans, called a Flat-Felled seam (tutorial).
The first time I used this was on a pair of shorts for my husband, James. It shows 2 rows of top-stitching on the outside, and looks really great on any item where there is other external top-stitching, such as patch pockets.
It also has the bonus of adding a lot of strength to a seam, as you are essentially sewing each seam 3 times. so less chance of split seams, and great for items that are going to get a lot of hard use!
Raw seams aren't the only thing that can make your project look homemade. Another is ironing, or more accurately pressing. It took me a while to learn, but most projects you will spend at least as much time, and often more time, at the ironing board than your sewing machine.
It's a lot of work, but it is so worth the extra effort! It is best to press most seams multiple times. First, when you originally sew the seam, you should lay it flat and iron it flat from both sides. This seams like a silly step, but it is crucial in getting clean, crisp lines on your finished project.
Next, press the seam open from the wrong side, then again from the right side. You may need to iron more depending on your chosen seam finish, as well. usually, you will be going back and forth from your machine to your ironing board as yo finish each seam or set of seams. Don't wait until everything is put together to try and iron, because often times you won't be able to properly reach or iron much of the garment then.
Also, I think it is a very nice touch to learn hand blind stitching for hems, sleeves, and neck facings, but I'll get into that later
It takes quite a lot of time to do the proper pressing, extra seam finishing, and hand stitching on a garment, but your finished product will show all the extra love, work, an attention you put into it!
Happy sewing everyone!


No comments:
Post a Comment